Building a modern home
Home is an invention on which no one has yet improved.
Ann Douglas
A lot of people dream of building a modern home. Or rather, a lot of people dream of living in a modern home. A place of their own, with the people they love, surrounded by functional beauty and considerate form.
Thoughts of the process of designing and building the home are often a bit more vague. Working with an architect is assumed. But how do you find an architect? Designing something that matches the photographs you’ve pinned online and dog-eared in your magazines is also imagined. But what is it about them you actually like? Who are you designing the home with and for, and how will you spend your time there? Once you’ve got a design in mind, who is going to build it, and where do you find them? Who else needs to be involved? How much is this going to cost?? Should our home have a cantilever???
If you are serious about building a modern home, you’ll end up needing to answer these and thousands of other questions. It’s a practical pursuit after all, putting a concrete foundation under your dreams.
We bought the property we built on just over 5 years ago. At the time we didn’t have money for anything more than the land, we didn’t have any skill to design a home, and we were blissfully unaware of the challenges and complexities it would eventually entail. We also have no regrets, and are continually amazed and immensely grateful that we get to live in this house.
Many friends, family, and acquaintances have asked us about the process. What follows is a long, roughly linear account of what we learned as we built a modern home on a rural property. I hope it might be useful to you in your own daydreams and plans.


Land
The moment we had a bit of money beyond what we required for our immediate needs, we started to imagine a life in the country. We had always thought we’d eventually move out of the city. Maybe when we retired. Why not get started with a plot of land?
Deciding on the region we wanted was a process of elimination from our home base in Vancouver:
- south is the USA border
- west is the ocean and ferries to islands
- east is highway driving and a mountain pass to the interior
- north is the sea-to-sky highway to Whistler and beyond
This decision was a practical consideration of travel logistics and distance (can we go for the day or a 2-day weekend? can we go spontaneously or do we need to plan ahead to avoid traffic or connect to ferries? what’s the drive going to be like?) and what we could afford (at the time waterfront properties were not in the cards).
Once we had that settled (north!), we found a local realtor who helped us create a Property Search to be notified of new listings in the Pemberton area – about 40 minutes north of Whistler. This area had everything we wanted: mountains, a great community, proximity to incredible outdoor recreation, and (relative) affordability.
This brought a lot of properties to our inbox which we learned to sort through based on key considerations:
- is the land accessible by a municipal road or a Forest Service Road? ie. does it require an offroad vehicle to access
- is the land zoned for agriculture?
- does the land have any private easements or public access for utilities (power lines)?
- is the land under reserve or cooperative control?
- has the land been partially or fully cleared?
- is there water?
- how big is it, and what’s the price per acre?
- is there a local strata or other constraints on what you can build?
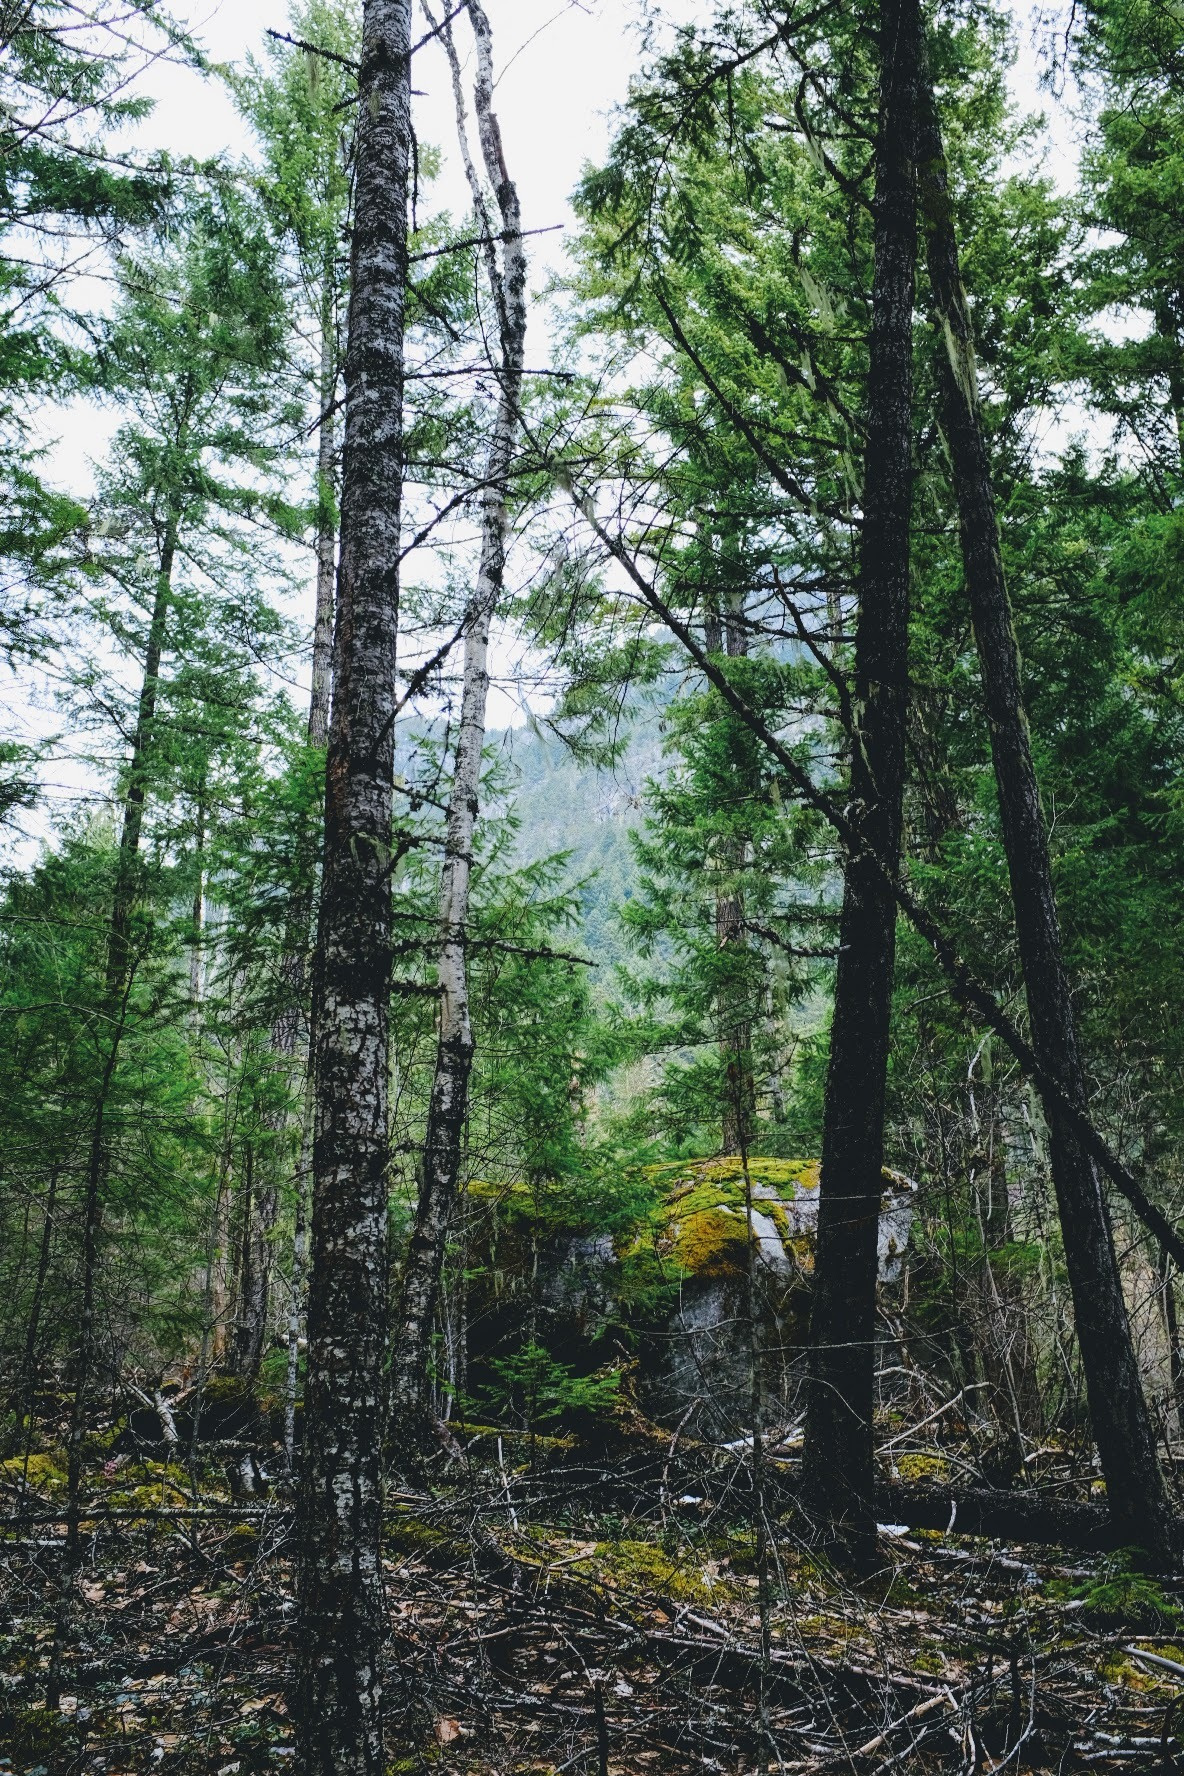
We spent about a year looking at different properties, which took a lot of time. Traveling up and walking each site took many weekends, booking into a local hotel and comparing listings, getting a feel for the area, and visiting sites at different times of year. At each site we strapped our (first) baby to our front or back and wandered around, imagining what the place might look like as he grew up. We got to the point of making an offer on one property before pulling back and eventually finding the land we bought.
The big benefit of this process was getting good ground knowledge of the region, and confirming for us how much we loved it. The town of Pemberton was livable, the people were lovely, the land was beautiful, and each season we spent there got us more excited about putting down roots. We felt a little more confident with each site visit that we were narrowing in on what we wanted.
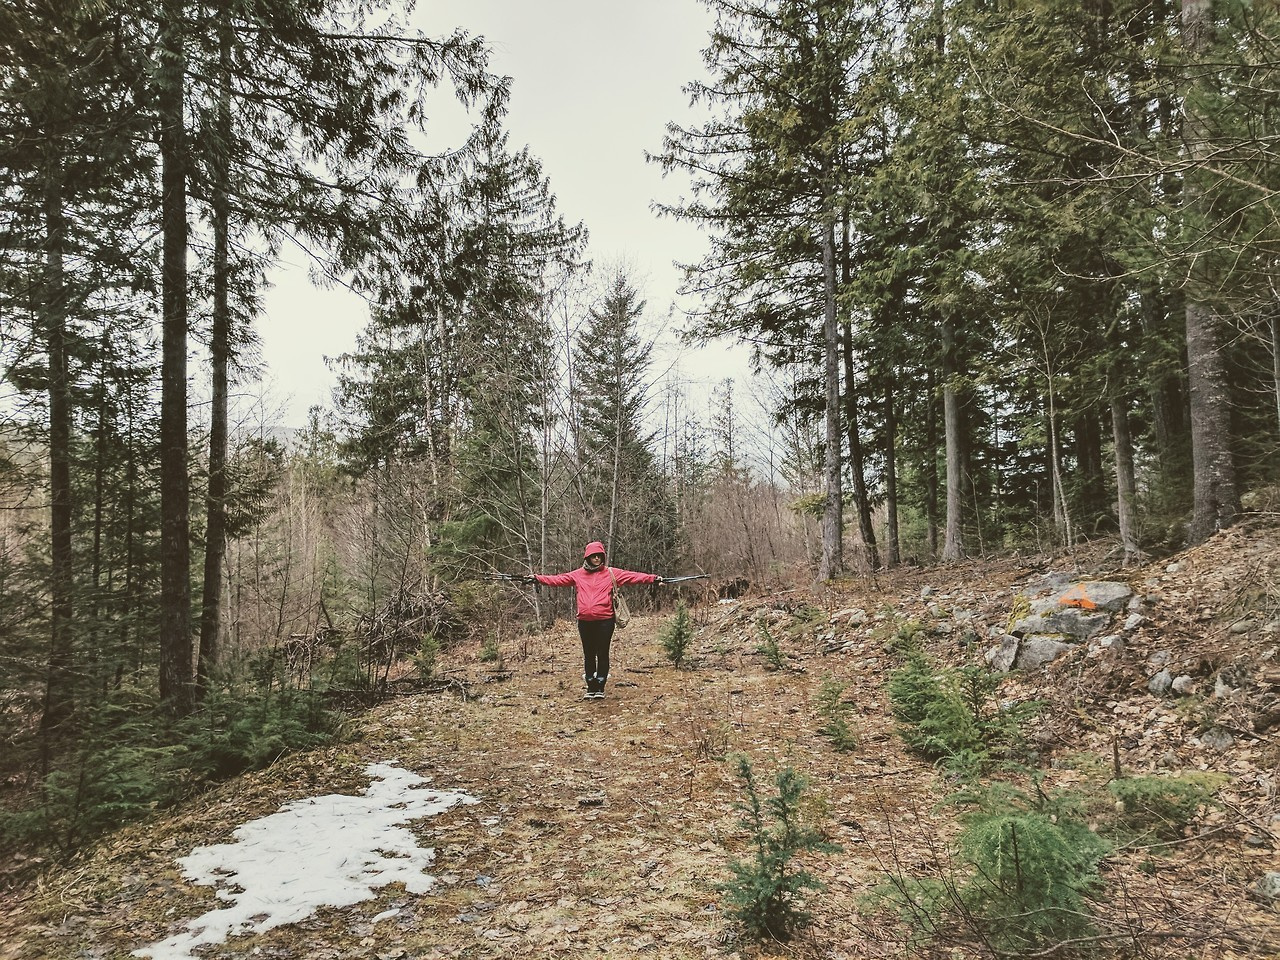

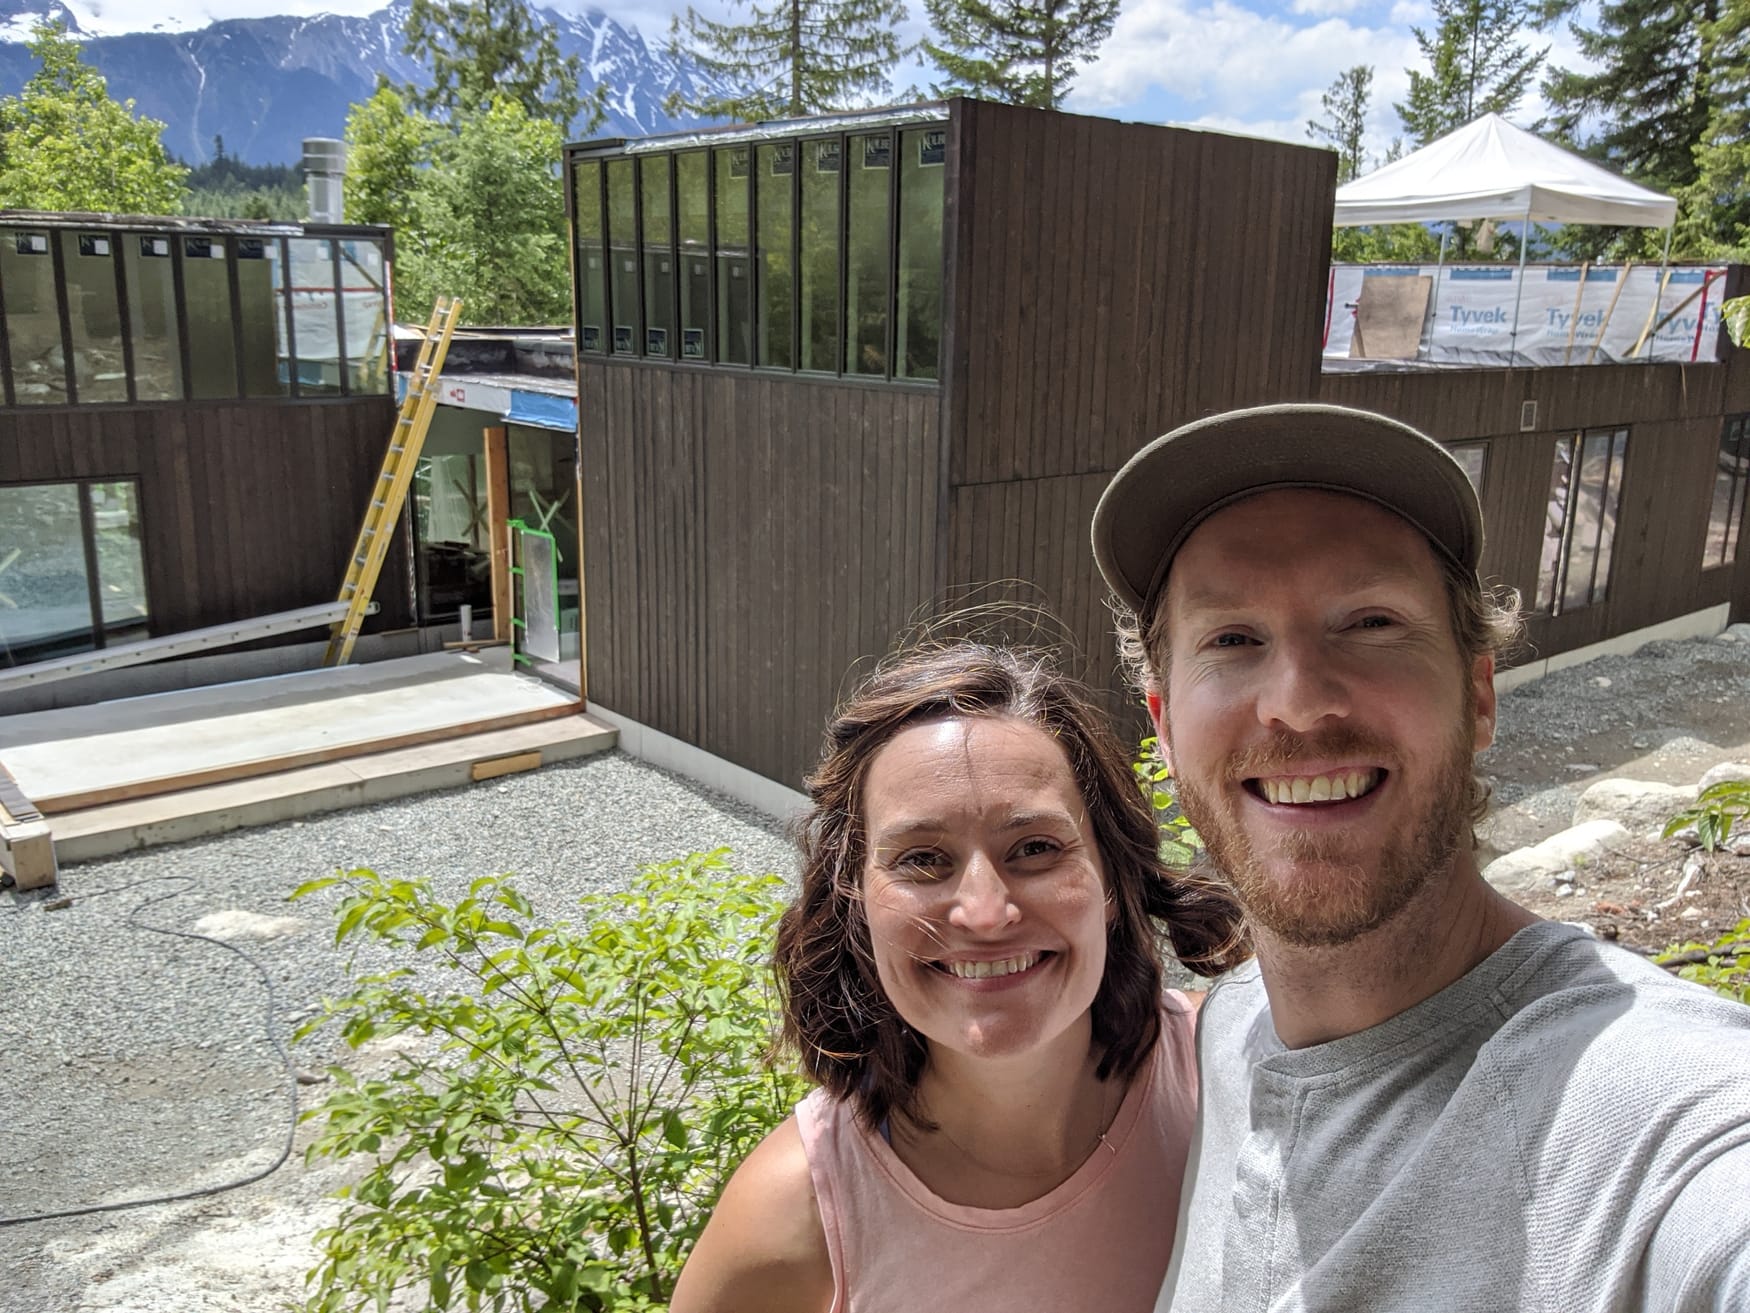
Left: Jess, 6 months pregnant with #2, acting as a human scale reference with outstretched hiking poles. Our home would eventually be built with the front door about 50 feet behind her. Right: Early framing in year one of construction – 2018
This also gave us time to figure out what a realistic budget was. The price difference between regions is dramatic (for example, land closer to Whistler was $$$ for much smaller lots) and the cost of the land has to be balanced against the cost of improvements you’ll need to make before you even start building a house, such as digging a well or putting in a driveway or road.
This was also when we learned about how mortgages for land work. In Canada the basic home mortgage expectation is a 20% down payment and ability to pay a monthly mortgage amortized over 20-25 years. With bare land we learned the banks are much less inclined to offer mortgages, and expect 40% down and proof of ability to cover a budget for a built home in a specific number of years. Practically this means having a plan for a home, which we didn’t – just our imaginations!
After several rounds of back and forth with the bank, the best option was not to get a mortgage for the land. Instead we used our savings and took a homeowners line of credit on our duplex in the city. At this point our plan was to buy the land and use it for camping while we figured out what we wanted to build. Not having a mortgage removed the strings (and timeline) the bank wanted to attach to this process.
Buying the land involved a few more steps:
- Water testing to ensure the ground water is potable and that there’s enough volume of water to support a house
- Geotechnical survey to ensure the land is buildable and to learn about any risks associated with landslide or erosion
- Title search
- Confirmation of availability of municipal services such as road clearing, power, sewer, water, and waste pickup. In our case we got power and road clearing, and learned we needed our own well, septic system and waste removal.
These steps gave us our first exposure to the sprawling village of people you end up needing to help build a home. In our case we were lucky to find local folks for each step that gave us the necessary paperwork along with context on what the building situation was in the area. It also gave us a contact at the local building office who assisted us from this stage through to permitting and eventual inspection of the completed house.
In terms of the actual purchase, we made our offer through the realtor and negotiated the price through 3 rounds, eventually getting the seller to reduce the price by about 10%.
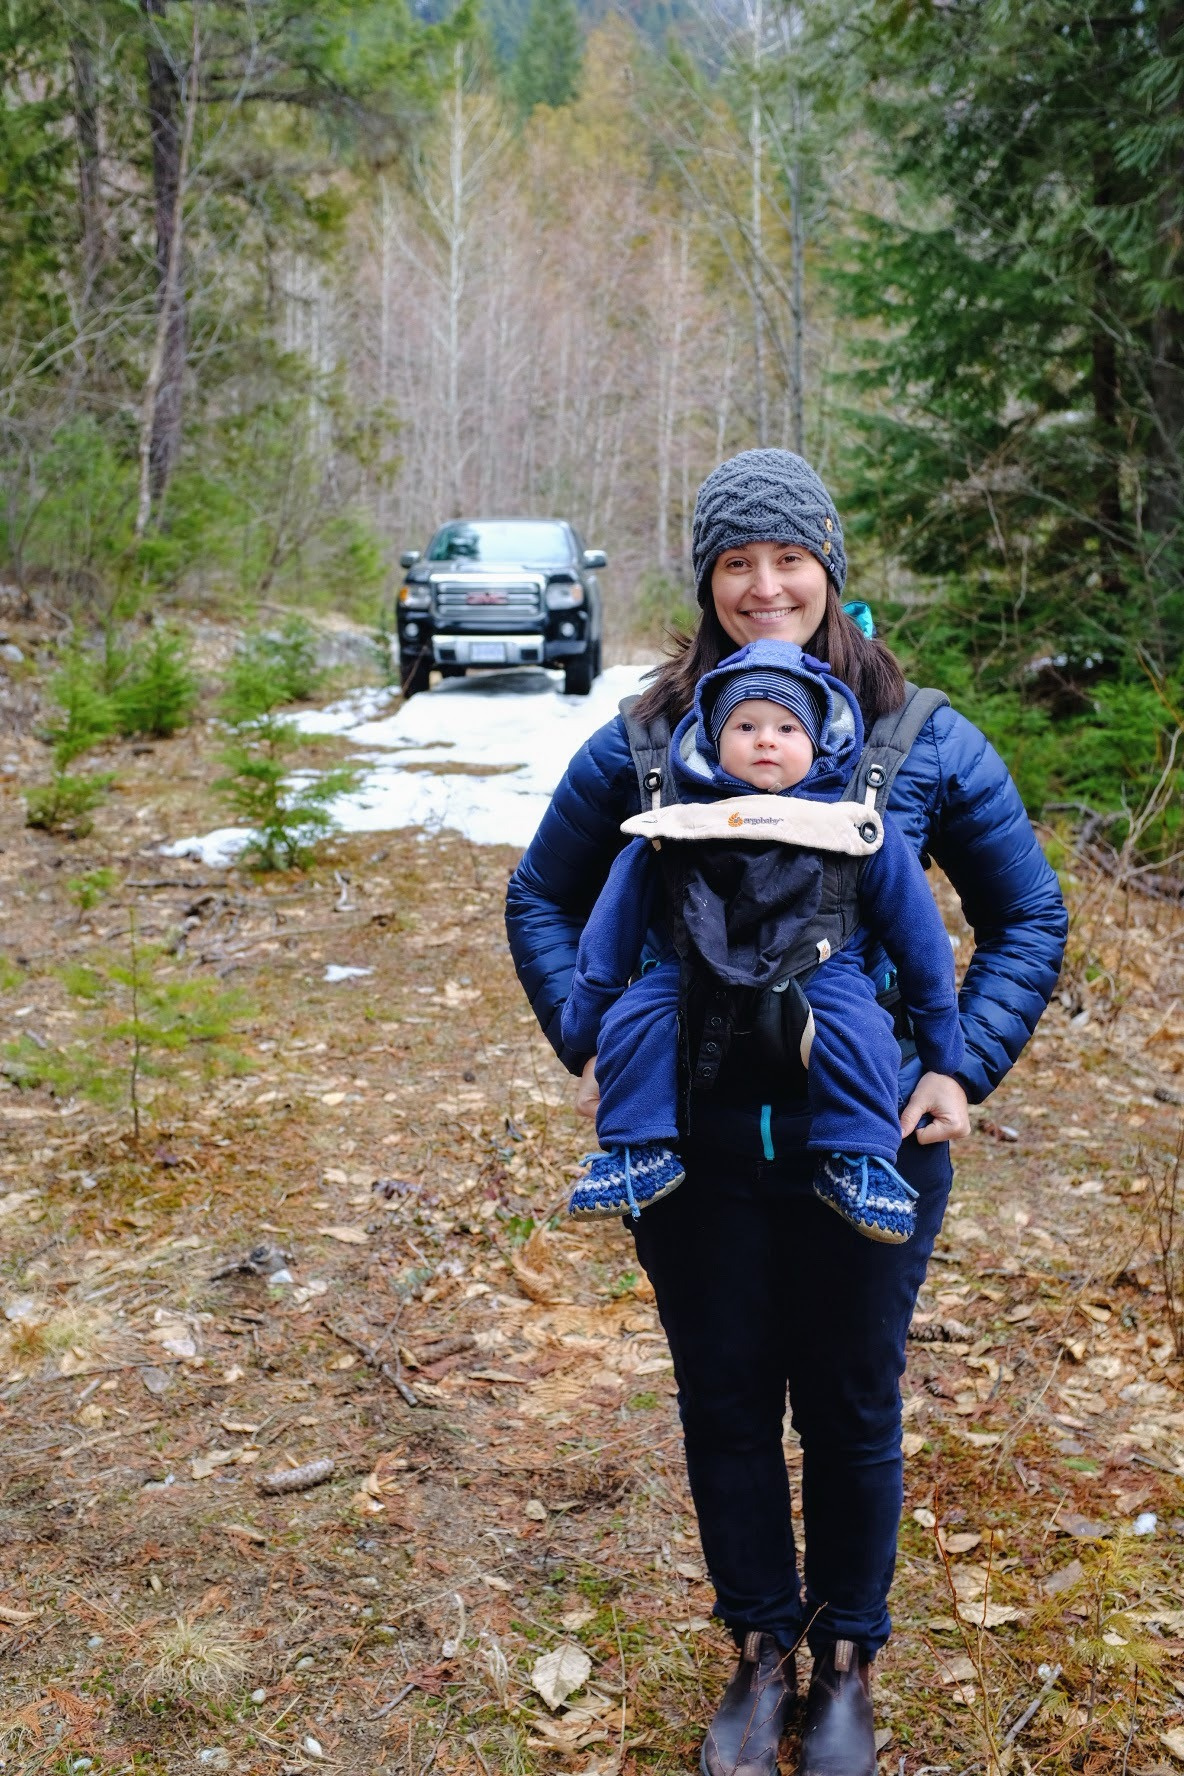

Walking the property shortly after purchase, with our second son in tow.
Design
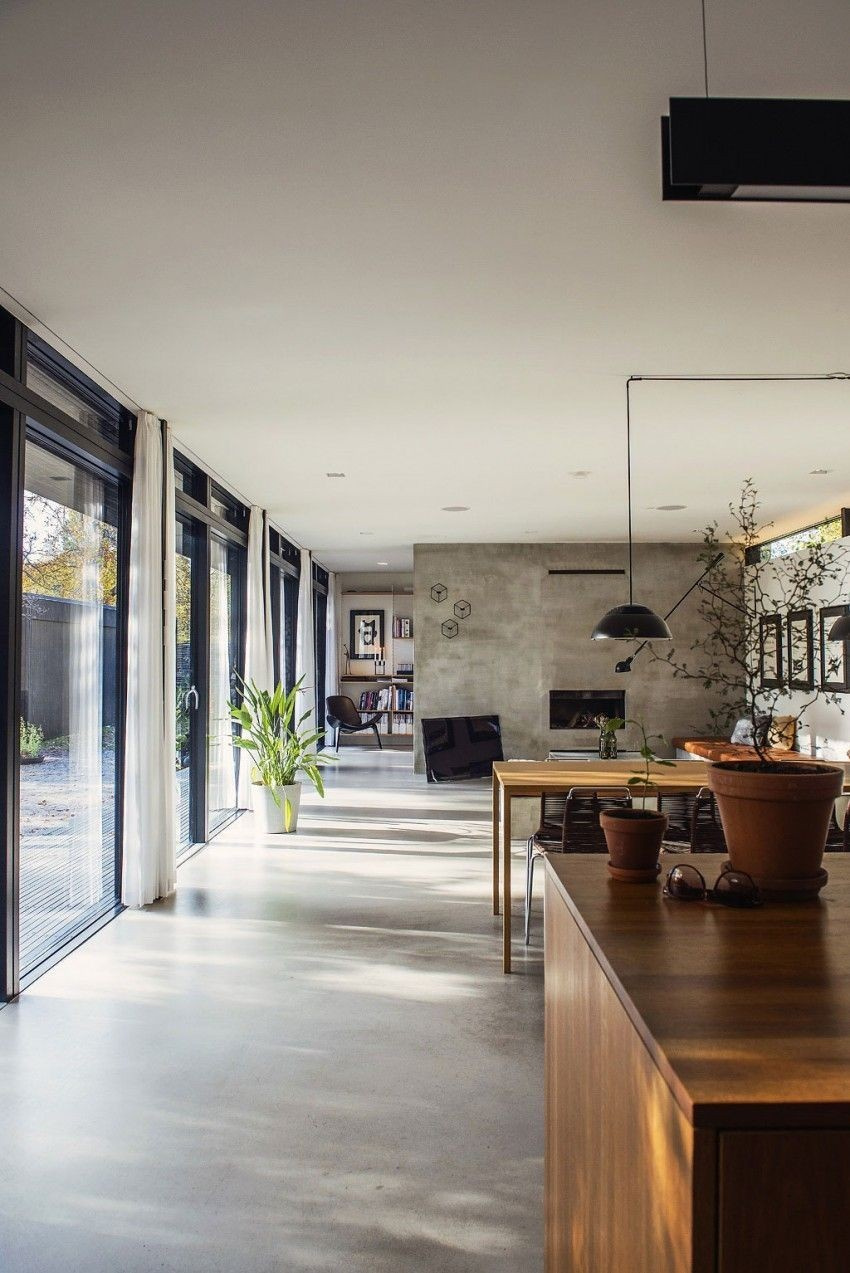
We got this far with hazy dreams of what we’d build. We went deep on our magazines and pinterest boards and started compiling stuff we felt strongly about. This gave us a lot to talk about in terms of style, function, and amenities. Our priorities were entertaining with our large extended families and friends, gardening and homesteading, and indoor/outdoor living with a central pool “program” (architect-speak for what you’ll do in the house and what spaces that entails).
We gathered our inspiration in mood boards that we pored over eagerly, fantasizing about what we might build. Some of the references we found ended up directly informing the eventual design. Many others went by the wayside. All of it helped us get on the same page – for Jess the pool was the centerpiece and outweighed all other concerns. For me it was the wood-burning fireplaces.


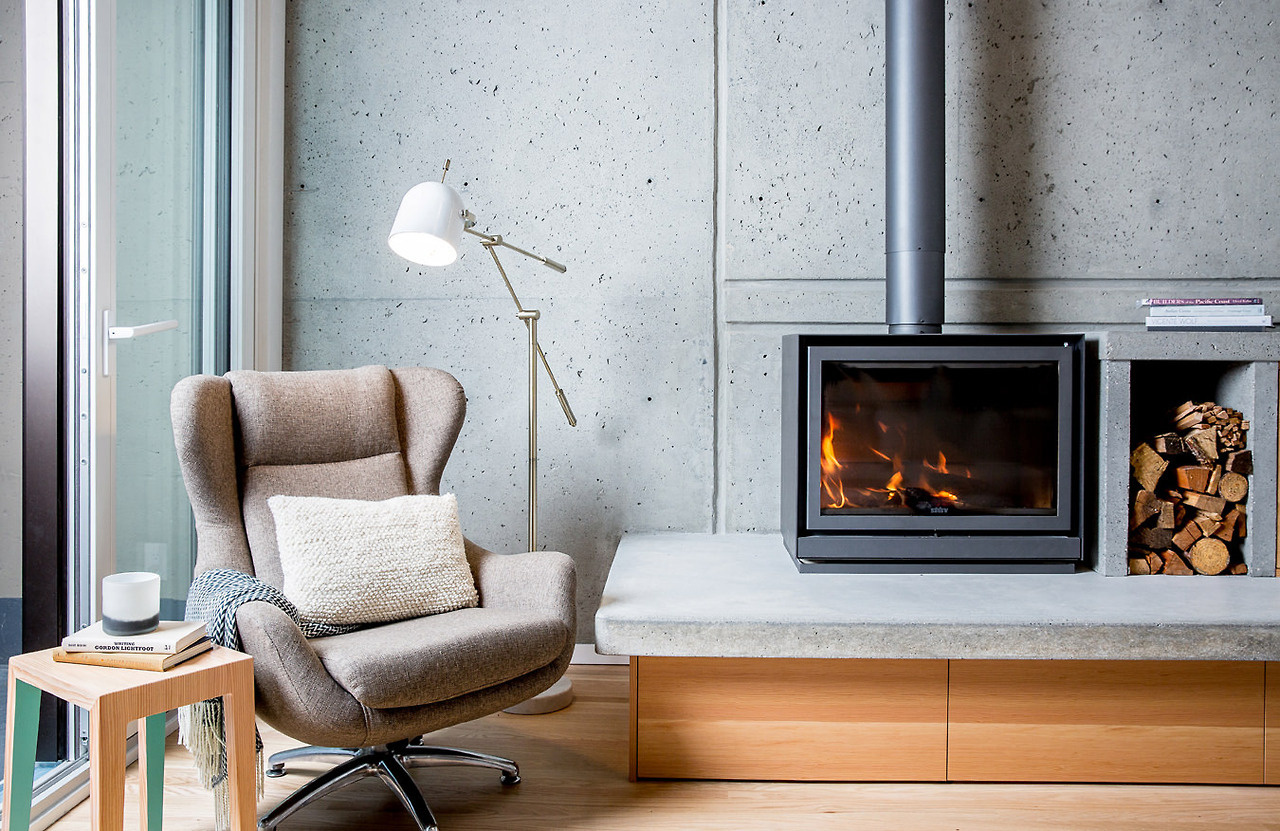
The next big step was to find our architect and get down to designing our home. In our case, the choice was straightforward as we had a prior relationship with Michael Leckie and loved his work. Fortunately he was taking on residential projects at the time and helped with the initial property search and siting on the land we purchased.
Around this time we hired a couple local filmmakers with a drone camera to photograph and film the property so we could get a sense of the possible building sites. This helped us get a better sense of the topography and sightlines through the forest.
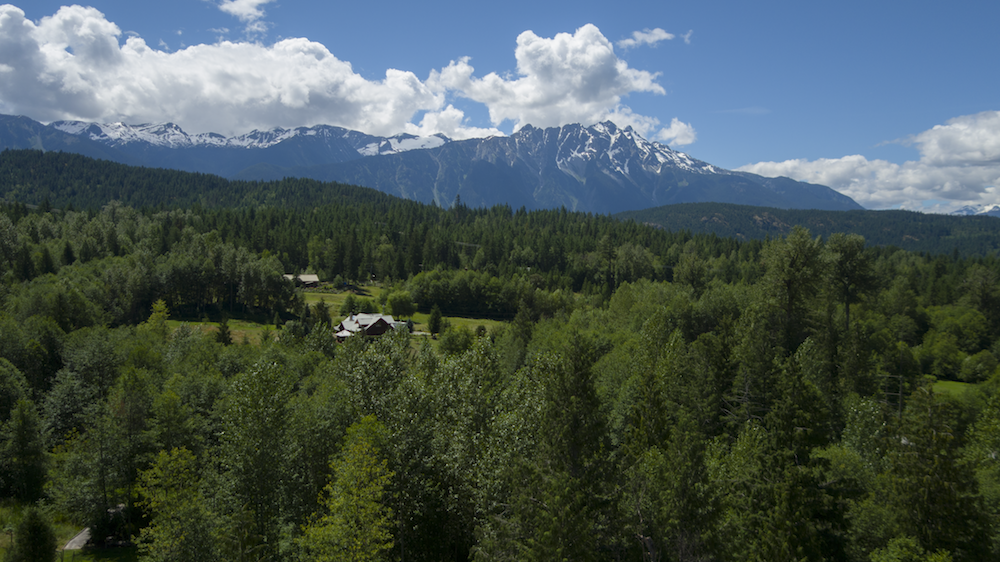


Drone photography helped us determine the topography of the site and establish potential building sites and views.
The architects established a phased approach as follows:
- Pre-design: gathering requirements
- Schematic design: sketching and blocking in the buildings
- Design development: fully developing and refining the design
- Construction documents: articulation of all building details and accompanying drawing sets, in concert with engineers and contractor
- Construction administration: overseeing construction to residency
Some architects design the building and hand it off to the contractor. We were very keen on Leckie Studio’s design+build process, which accompanies the client and oversees the project from inception to final residency. For this involvement, the fee was fixed at 15% of build cost.
The early process involved a series of conversations aided by a thorough questionnaire to establish our requirements. The 100+ questions determined many inputs to the design – focused on the who/what/when/why aspects of the home. Young family. Recreational home. Entertaining. Accessibility for elders. Outdoor living. Pool. No garage. Solar power. Modern (but cozy!). Intergenerational ownership. Minimal site disruption. And so on.
At this stage our anxieties focused on budget and a fear of pursuing a modern architectural approach. We loved high design, but weren’t sure we could afford it. We loved the functional practicality of modernism, but loathed stark cold architecture.
These initial concerns led to an ongoing fruitful conversation with Leckie and his team. To our relief, we found them thoroughly pragmatic and humble about all of this, and approached each facet of the design with an emphasis on collaborative problem-solving. They also took the opportunity to educate us about our options, and helpfully guide us in areas that were entirely new for us – selecting precedent buildings as references, establishing budget constraints, determining the material palette, and so on.
After elaborating the overall program – 3 beds, 3 baths, and an ample open living/kitchen space surrounding an outdoor pool deck – the architects began developing the floorplan.


Some initial floorplan explorations.
We spent a great deal of time working on a design based on a polygonal faceted roof, which we liked from several of the precedents we’d chosen. However, after many iterations on the floorplan, we found that it wasn’t working. The interior angles of the house entailed by the roof shape were infringing on the living spaces we imagined, and in the process of shaping the exterior envelope we were compromising many of the details of the floorplan that we loved.
So we stepped back and reconsidered what mattered to us. We always sought to approach the house design from the inside-out. How do we want to spend our time? What mix of people and occasions do we imagine the house supporting? What rooms will we live in? Answering these questions led us back to a simpler rectilinear layout that maximized usable space.
Bless the architects for sticking with us during this phase. It took a year.

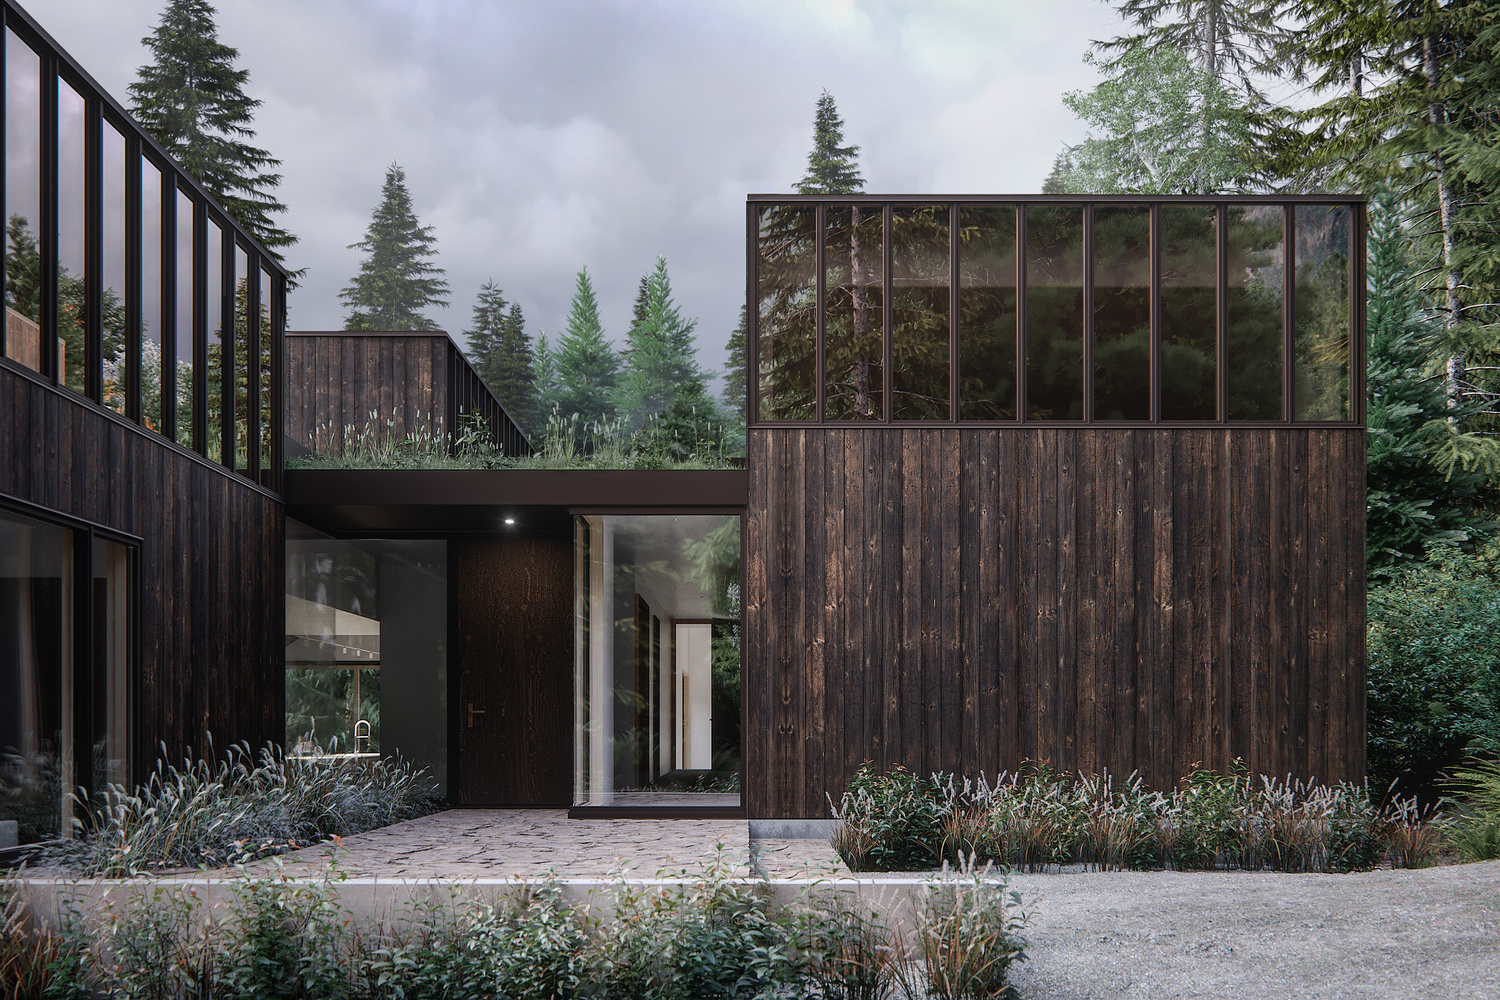
This was also when the architects began developing more fully fledged renderings and models, and we fell in love with what would become our home.


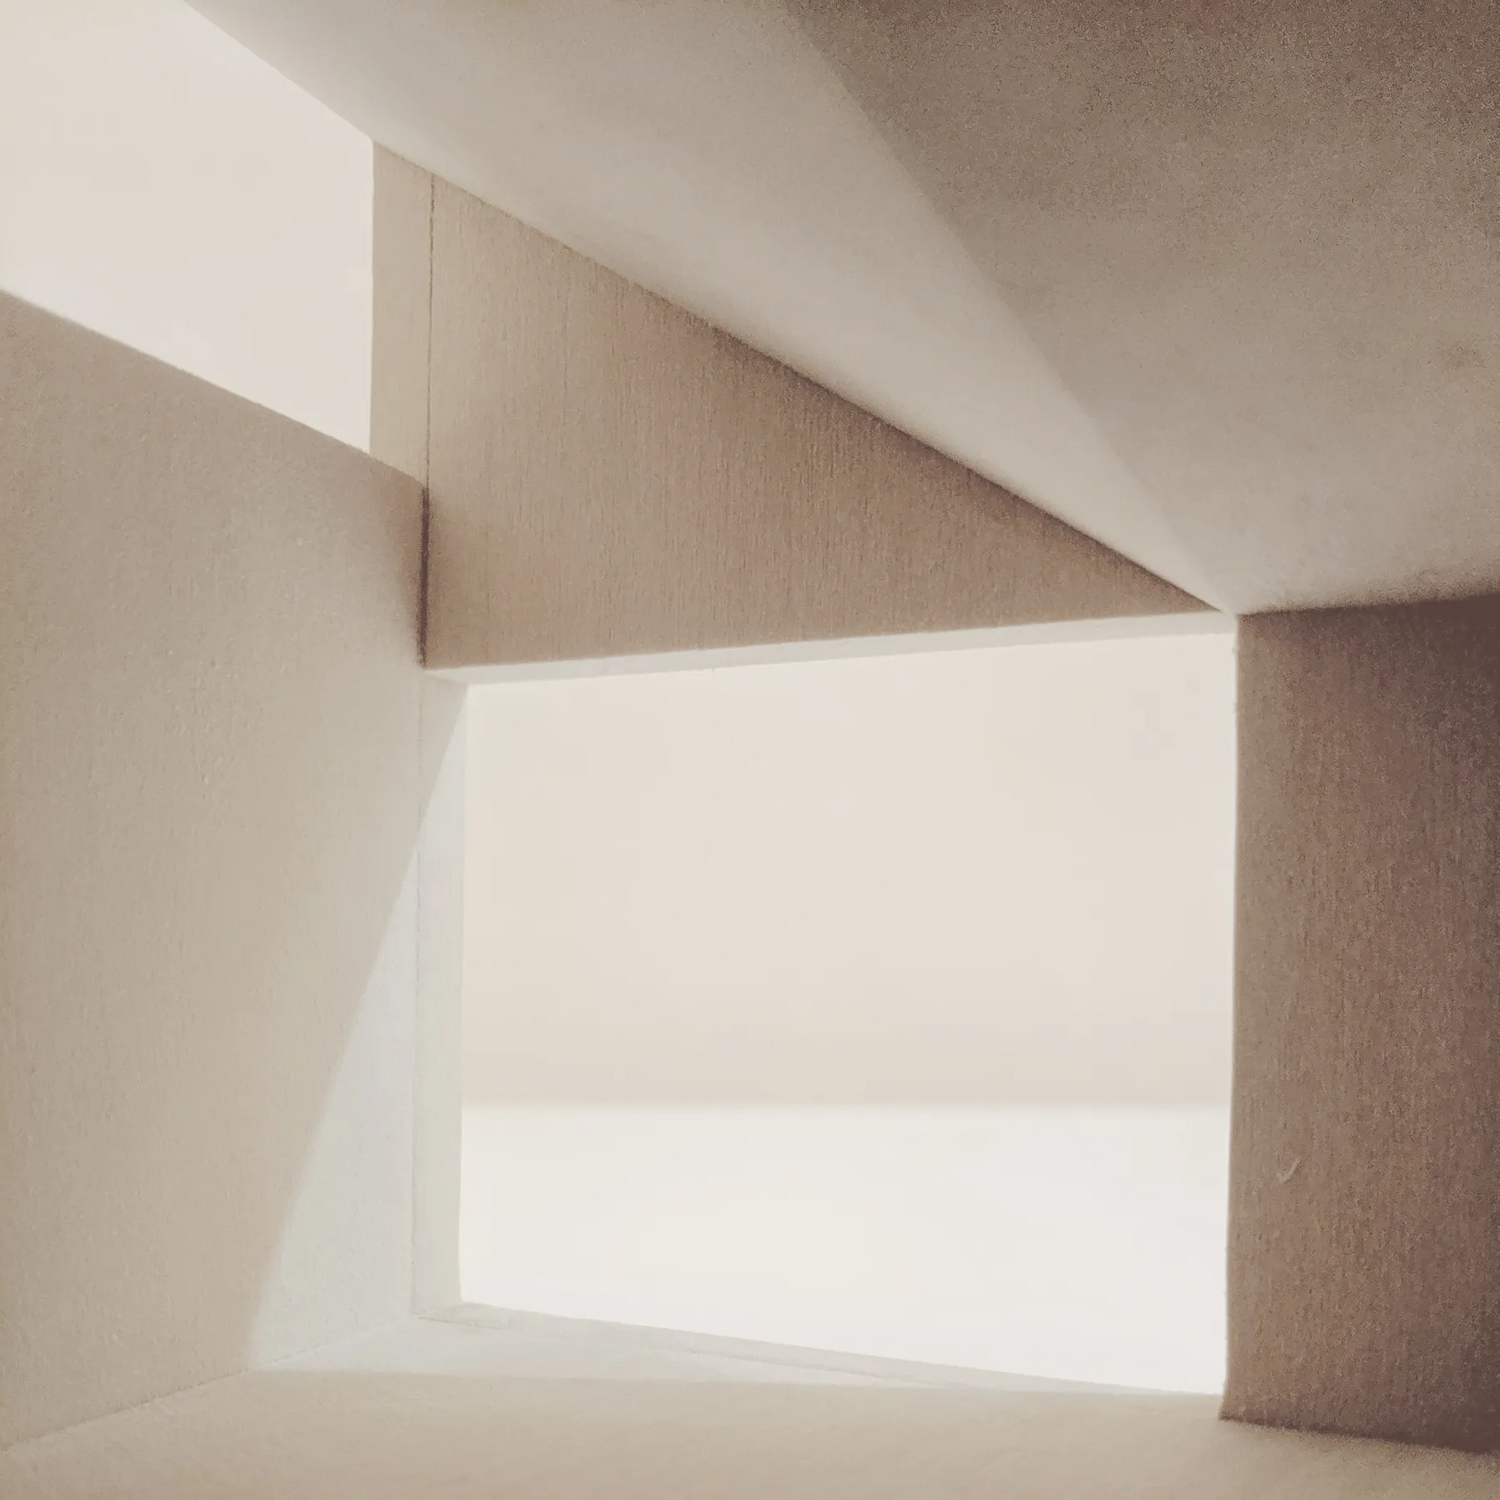
Left: Renderings of the exterior and landscape. Right;: Balsa models of the volumes in the house to determine the lighting and flow of the spaces.
Construction
With our hearts set on the design, we began the search for a contractor. This happened quickly: we asked for recommendations from our network and sourced three candidates. After a brief interview process we selected Western Craft Contracting – they had the experience to pull it off and their owner Ray Dierolf addressed all our questions with a directness and honesty we appreciated. For example, he caveated all his detailed estimates with the recognition that material and labour costs were volatile in a booming market. This caveat turned out to be an understatement.
Western Craft operated on a “cost plus” contract basis: the costs of the project + 10% profit. This was in contrast to the “fixed cost” basis offered by one of the other bidders, where an initial budget is agreed to and the contractor delivers the job at that price point. The tradeoff here is that a fixed cost budget – though in theory predictable – is not flexible to changing requirements or volatile costs. It also has a slight incentive for the contractor to cut corners. Fixed cost is more typical in commercial housing developments. Cost plus is more typical in custom residential homes.

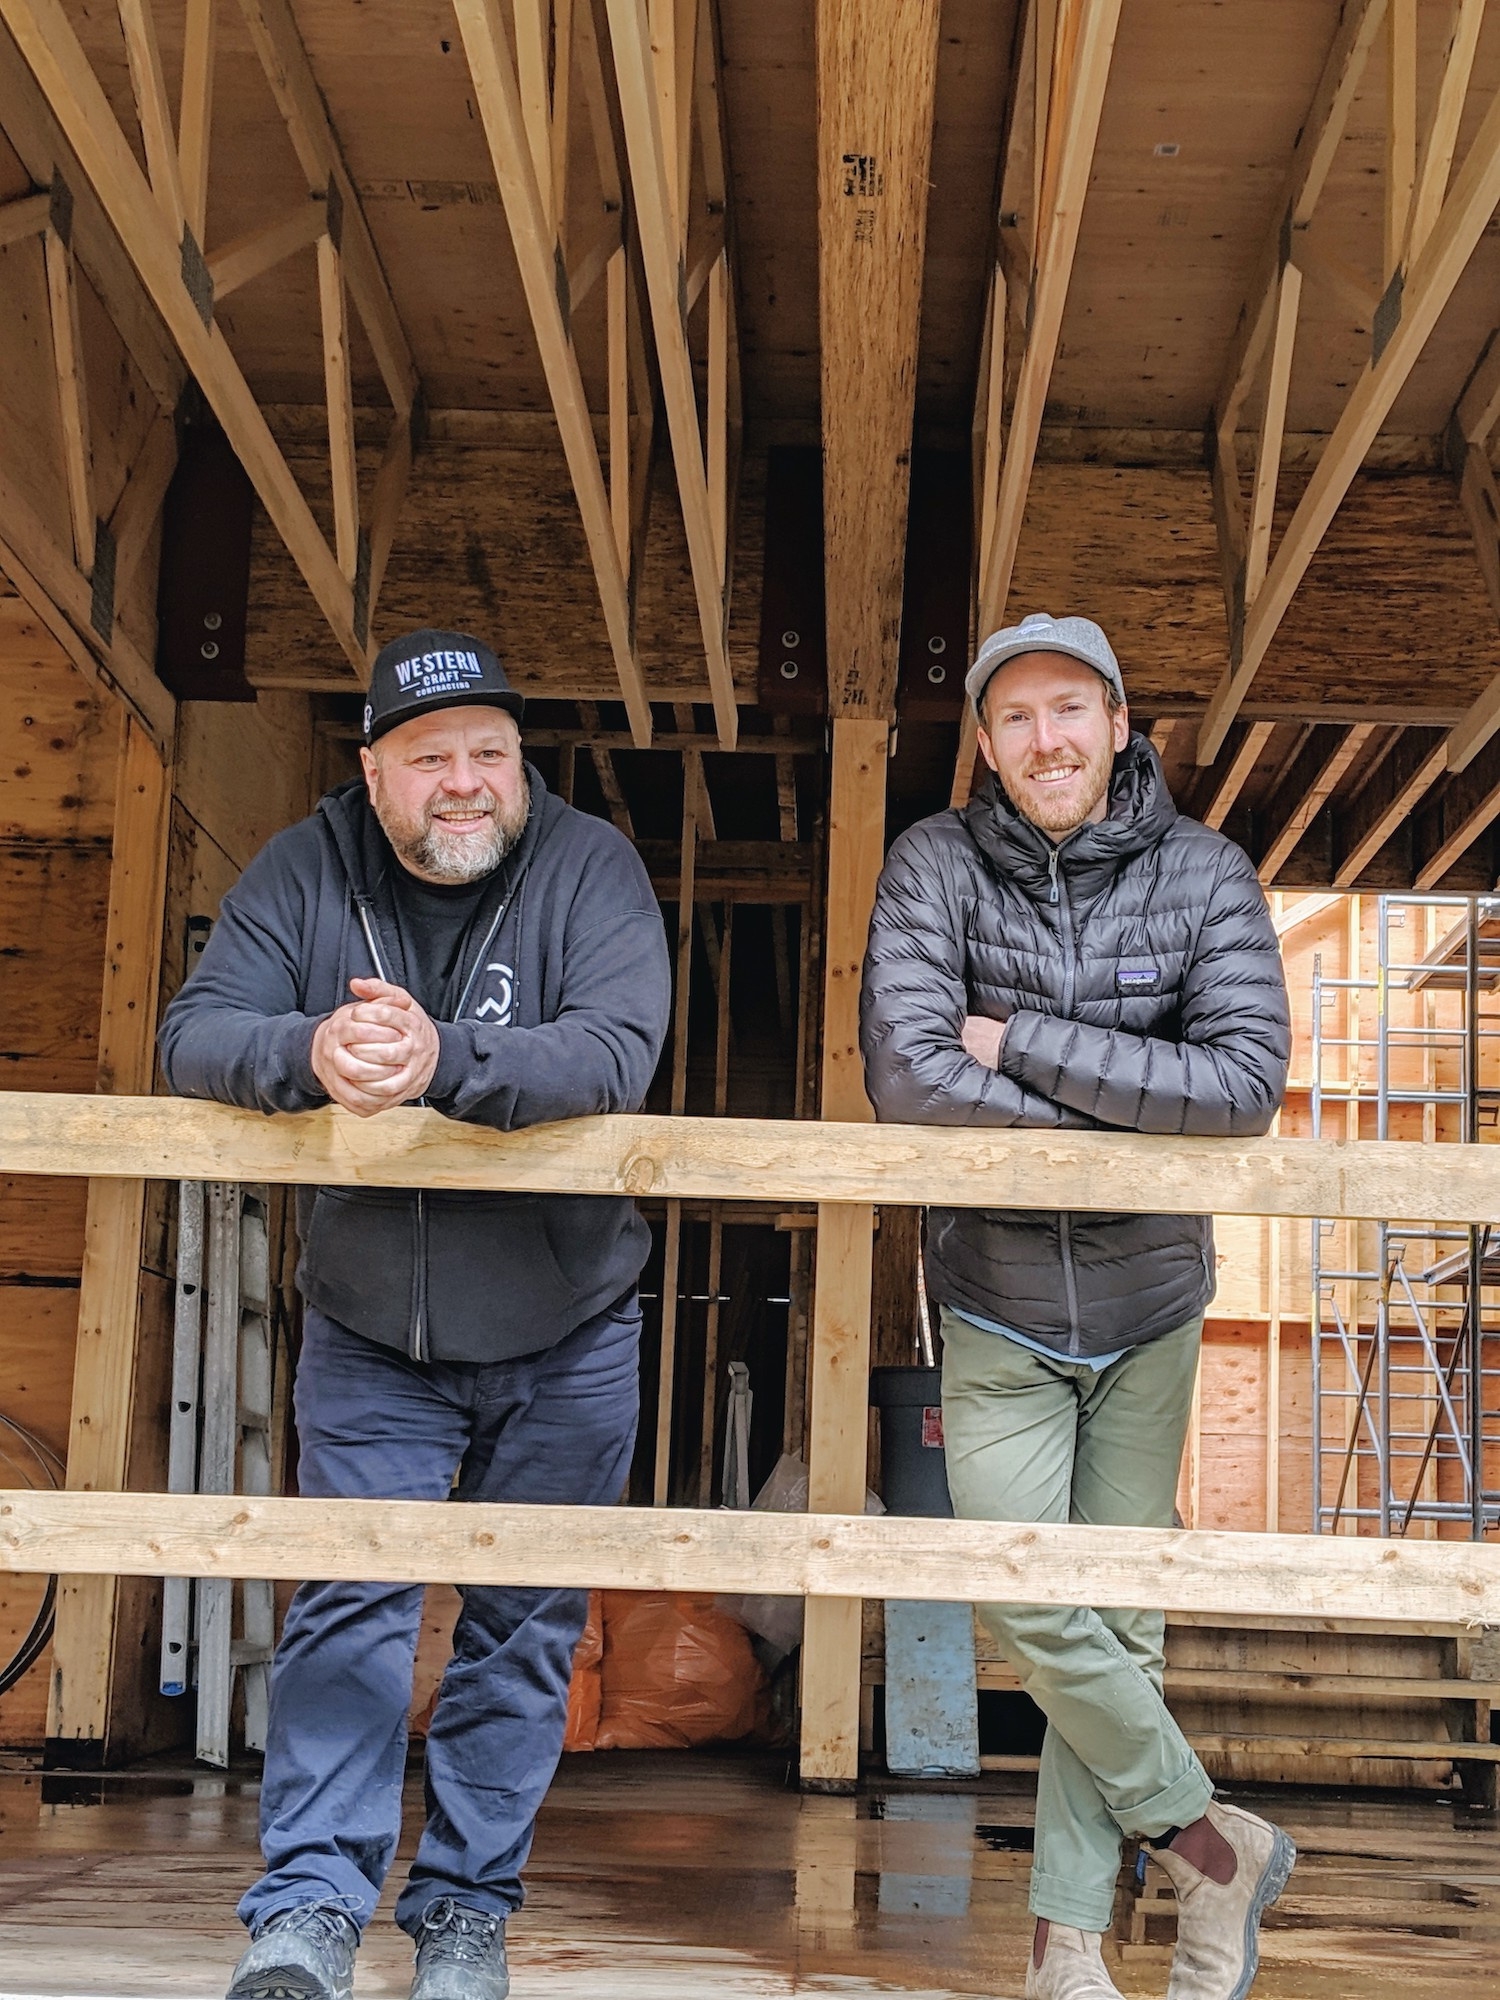
Once we signed the papers, work got underway almost immediately. Site preparation involved driveway grading, some tree clearing (we cut down 16 trees on our heavily forested lot), and excavation. The steady slope of the property required reinforcing the existing terraces on the land and bringing in structural fill to shore up the site. We deposited an initial lump sum for the contractor and then paid for the work on a monthly basis. Each month the invoice would include the total alongside all material and machinery receipts and hours worked.
At this stage we also contracted the range of engineering professionals necessary to convert the architectural plan into a working building: structural, mechanical, and building envelope engineers. These trades annotated and asked for revisions on each drawing set, and worked with the architect and contractor on specific design decisions. Though hugely important, their fees were not substantial compared to construction costs (materials and labour).
Construction began in June 2018 and was completed in October 2020. During this time the price of all essential building supplies roughly doubled – plywood, concrete, framing lumber – everything became significantly more expensive. At the same time the ongoing building boom ensured labour prices stayed high and subcontractors hard to secure. Covid-19 hit North America in March 2020 and further reduced labour availability and disrupted supply chains for the rest of the project – we were lucky that no one got sick and construction was allowed to continue under revised health and safety protocols.
In short, we got unlucky with timing. The budget we set out to achieve at the end of the design phase was obliterated by the factors above, rising by 2/3 over the course of construction. A primary contributor to this was the skyrocketing cost of concrete which is used extensively in the design. We were very lucky that we could manage this increase thanks to some good luck professionally. Under different circumstances we would have needed to dramatically cut the scope of the project or delay it.
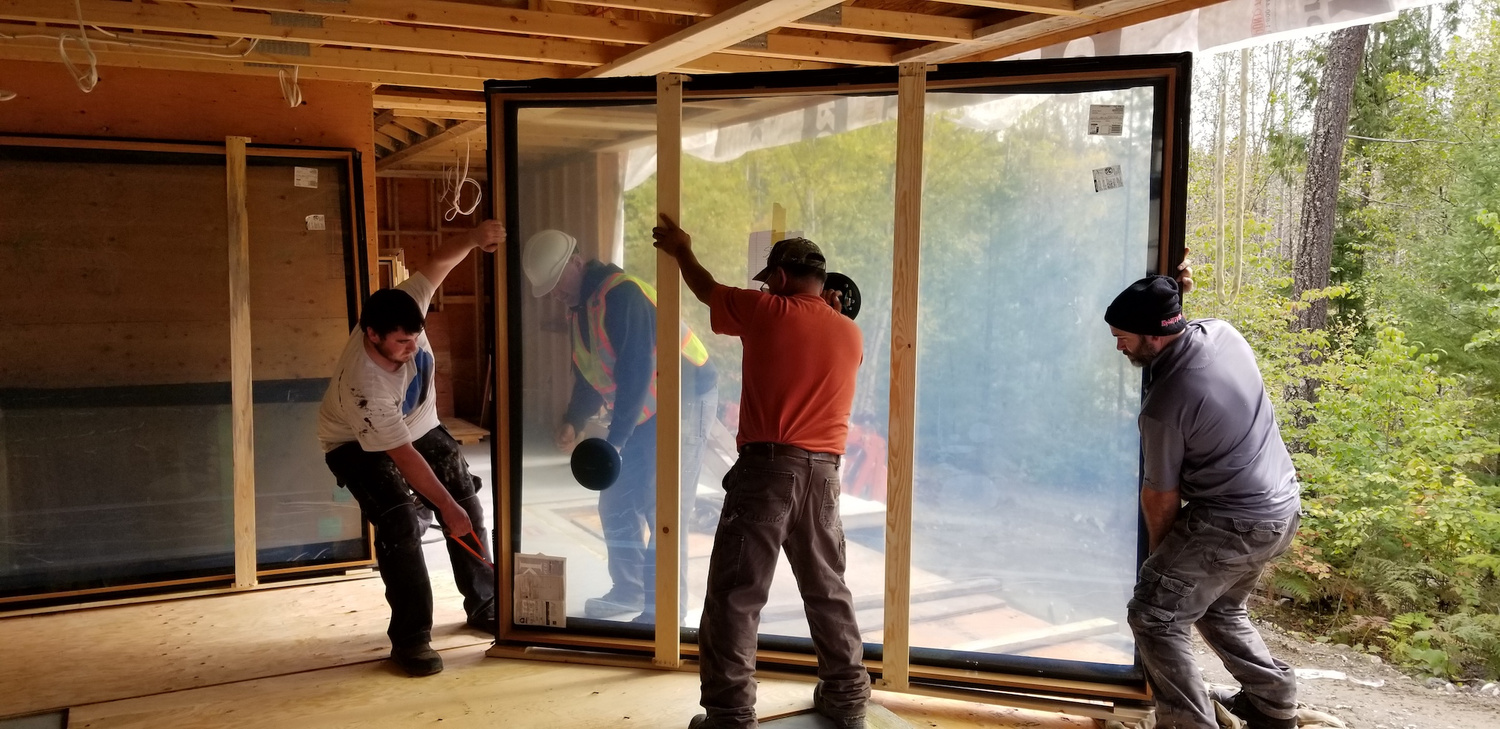


Even so, we undertook a lot of what the industry refers to as “value engineering” – a nice-sounding euphemism for finding ways to achieve project goals while limiting costs. This included some reduced scope, simplification of some millwork and lighting, and deferral of the planned woodshop (later built in 2021).
A goal for the build was to limit impact to the site during construction, and then to limit the footprint of the home after completion. In pursuit of this we planned an efficient mechanical design that would feature solar panels for electricity generation tied to the grid, geothermal for heat exchange, and no fossil fuels.
However, we quickly ran into several problems with this approach. Geothermal wasn’t viable on the slope and with the space we had to work with, so we switched to an air source heat pump for exchange. The bigger issue was that the energy demands for the house, which included hot water heating for the pool and hot tub, outstripped the electrical supply we could get on a rural residential build: 400A. We eventually settled on supplementing our electrical generation with propane, which we had hoped to avoid. High-efficiency electrically powered water boilers and other mechanical systems are more advanced in Europe, but we found that subcontractors were wary of importing anything unfamiliar (and unrated for North America) and prefered to use gas.
Additionally, the solar power system we specified used ballasted solar panels that are weighted down rather than attached to the roof (avoiding penetration of the roof membrane – always important, especially on a flat roof). This type of system passes California building codes, but isn’t allowed by BC building code. We had to pursue an exception in order to install the solar in this manner. In addition to this, BC Hydro’s solar payback plan is regressive: generation on grid-tied installations only allows you to pay your bill down to $0. You cannot earn money or credit for producing more than you use. This disincentivizes additional capture, even in areas like ours that are untapped solar powerhouses during the long light of the summer months.
These are two areas where the BC building code, BC Hydro, and the construction industry lag behind more environmentally progressive regions. It’s our hope that as the technology and standards improve we’ll be able to eliminate propane from the mix and use a fully electric power base, much of it captured on site from our 11.6 kW array.
Residency
Finally, after a year of planning, a year of design, and two and a half years of construction, we were able to celebrate Canadian thanksgiving in the fall of 2020 in our completed house. Final walkthrough with the inspector and architect preceded the residency permit and outlined outstanding items that could be resolved during residency. This included minor inspection items and what’s termed as deficiencies – construction details that do not match the design as defined by the architect. Fortunately at this stage nothing significant arose and we were able to relax and enjoy our first season in the home.
We worked with the in-house interior designers at the architecture studio to purchase furniture, but chose to limit up-front interior design work. We preferred to take time to live in the house and slowly collect the furniture, artwork, and things we wanted to have in the space. This meant that initially it was quite sparsely furnished and minimal.
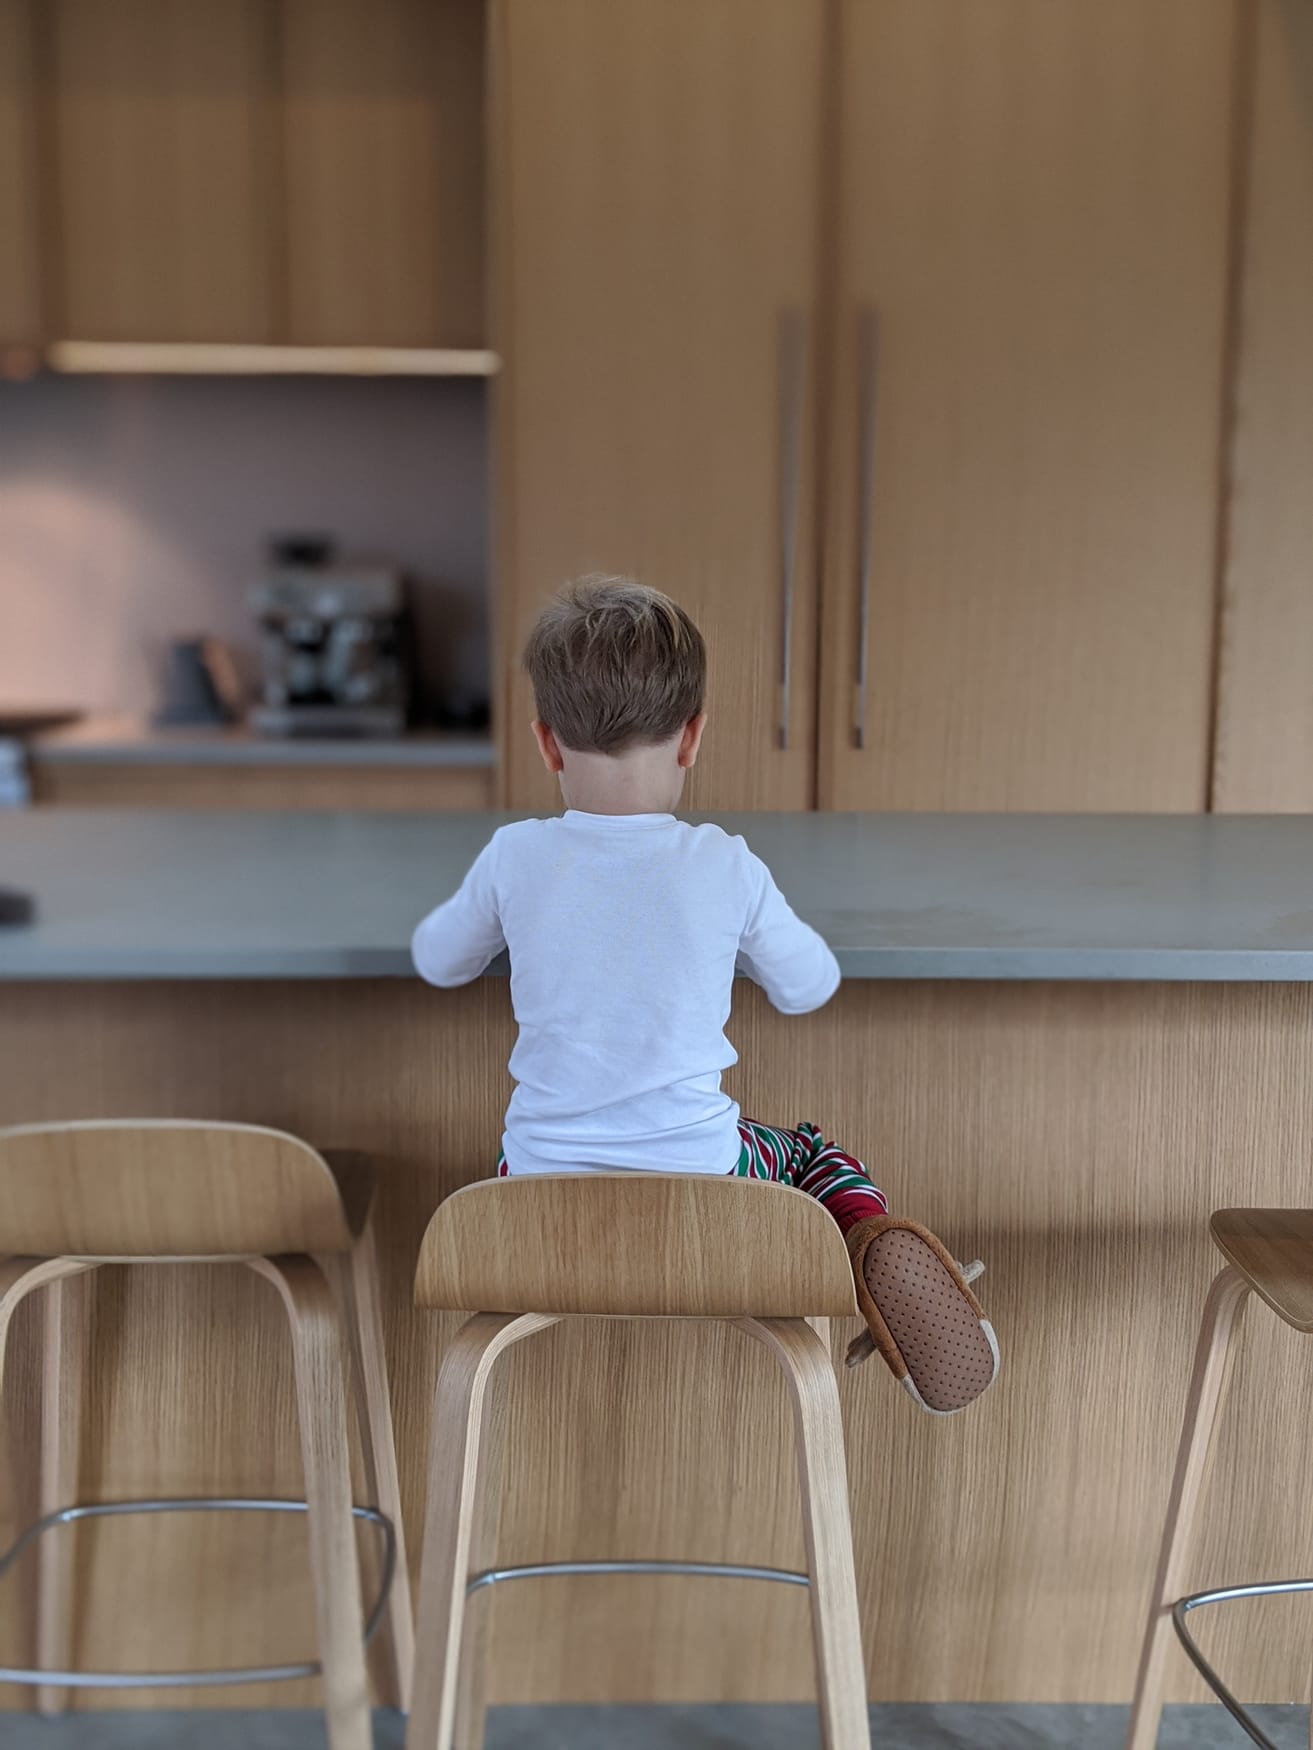
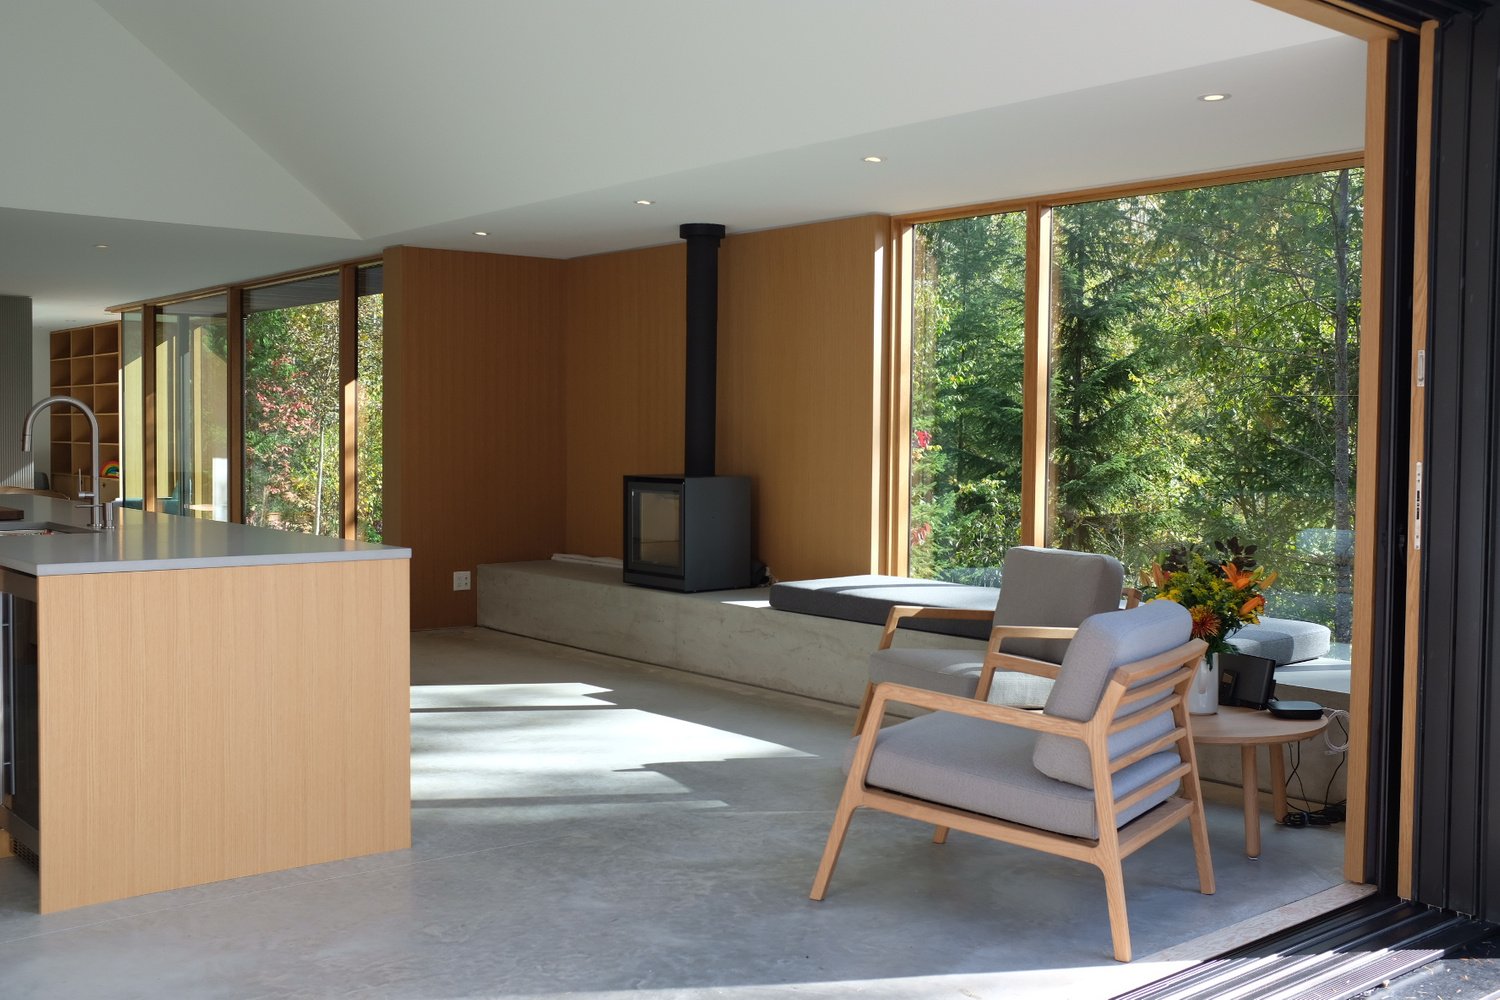


Bottom right: The dining table I built with my Dad for this space.
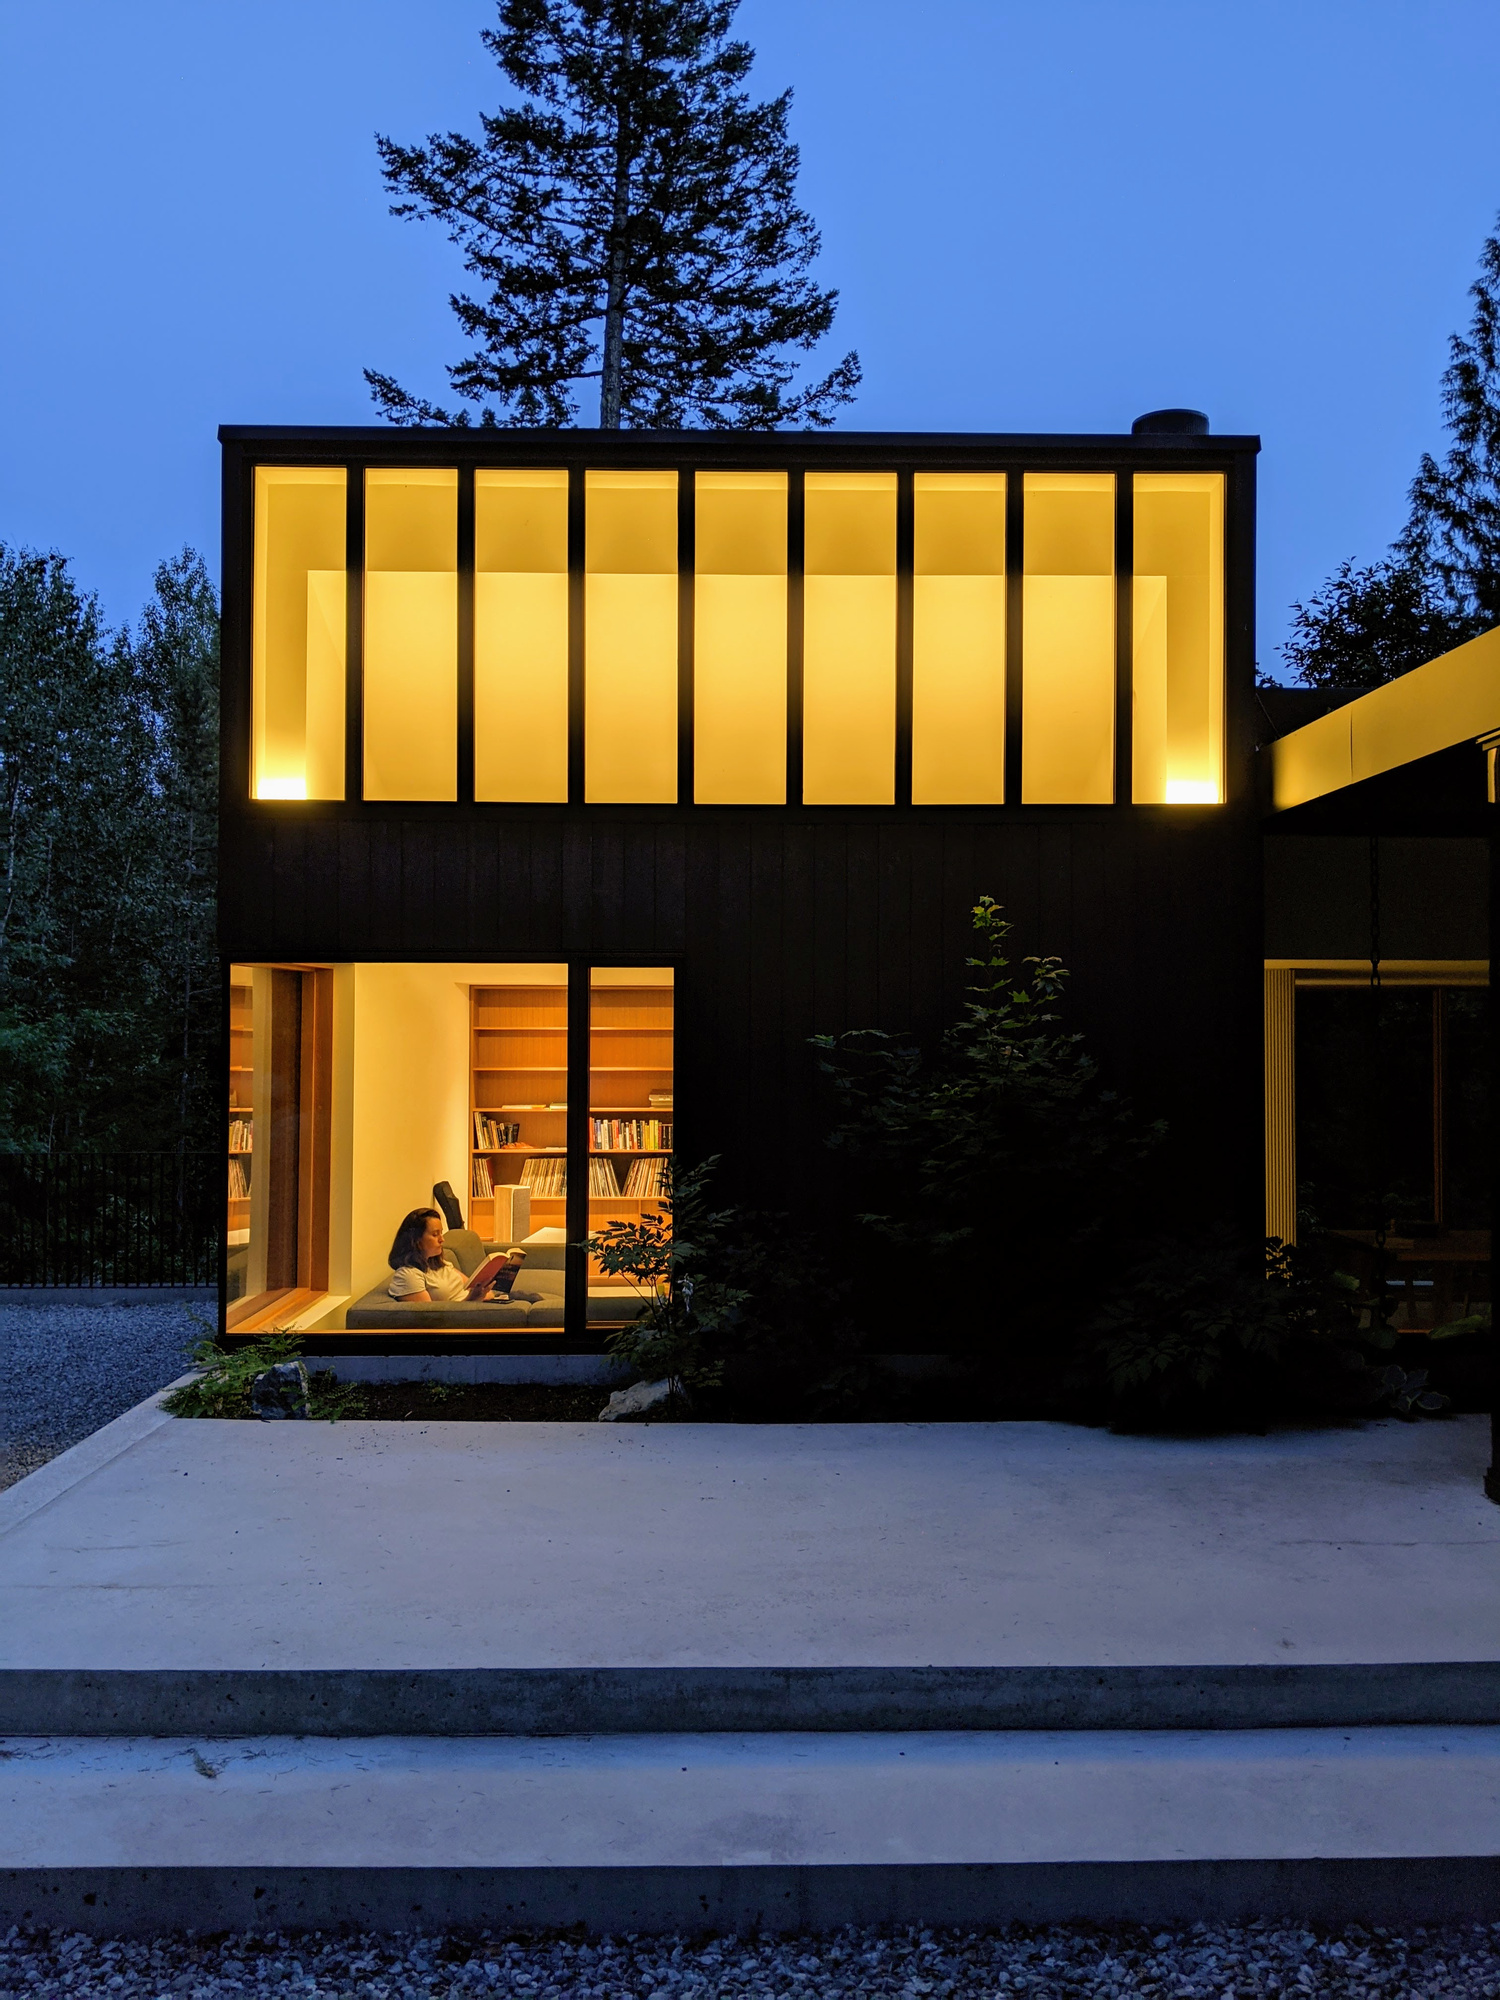
Over our first year we got to experience the changes over the seasons. The valley where we built gets exceptional all-day sunshine as it runs east-west and we are fairly elevated on the northern slope. We were stunned by the light and weather on the property during different times of day and times of year. The architect’s conceptualization of the residence as “camera house” came to life before our eyes:
The site is characteristic of the Pacific Northwest – remote, and rich with wildlife. The architectural concept was to create an optical camera wherein the experience of the site would be specifically documented and experienced through the lens of the architecture. The house is a spatial device which captures incoming light and directs it towards a specific internal surface or point.
Leckie Studio


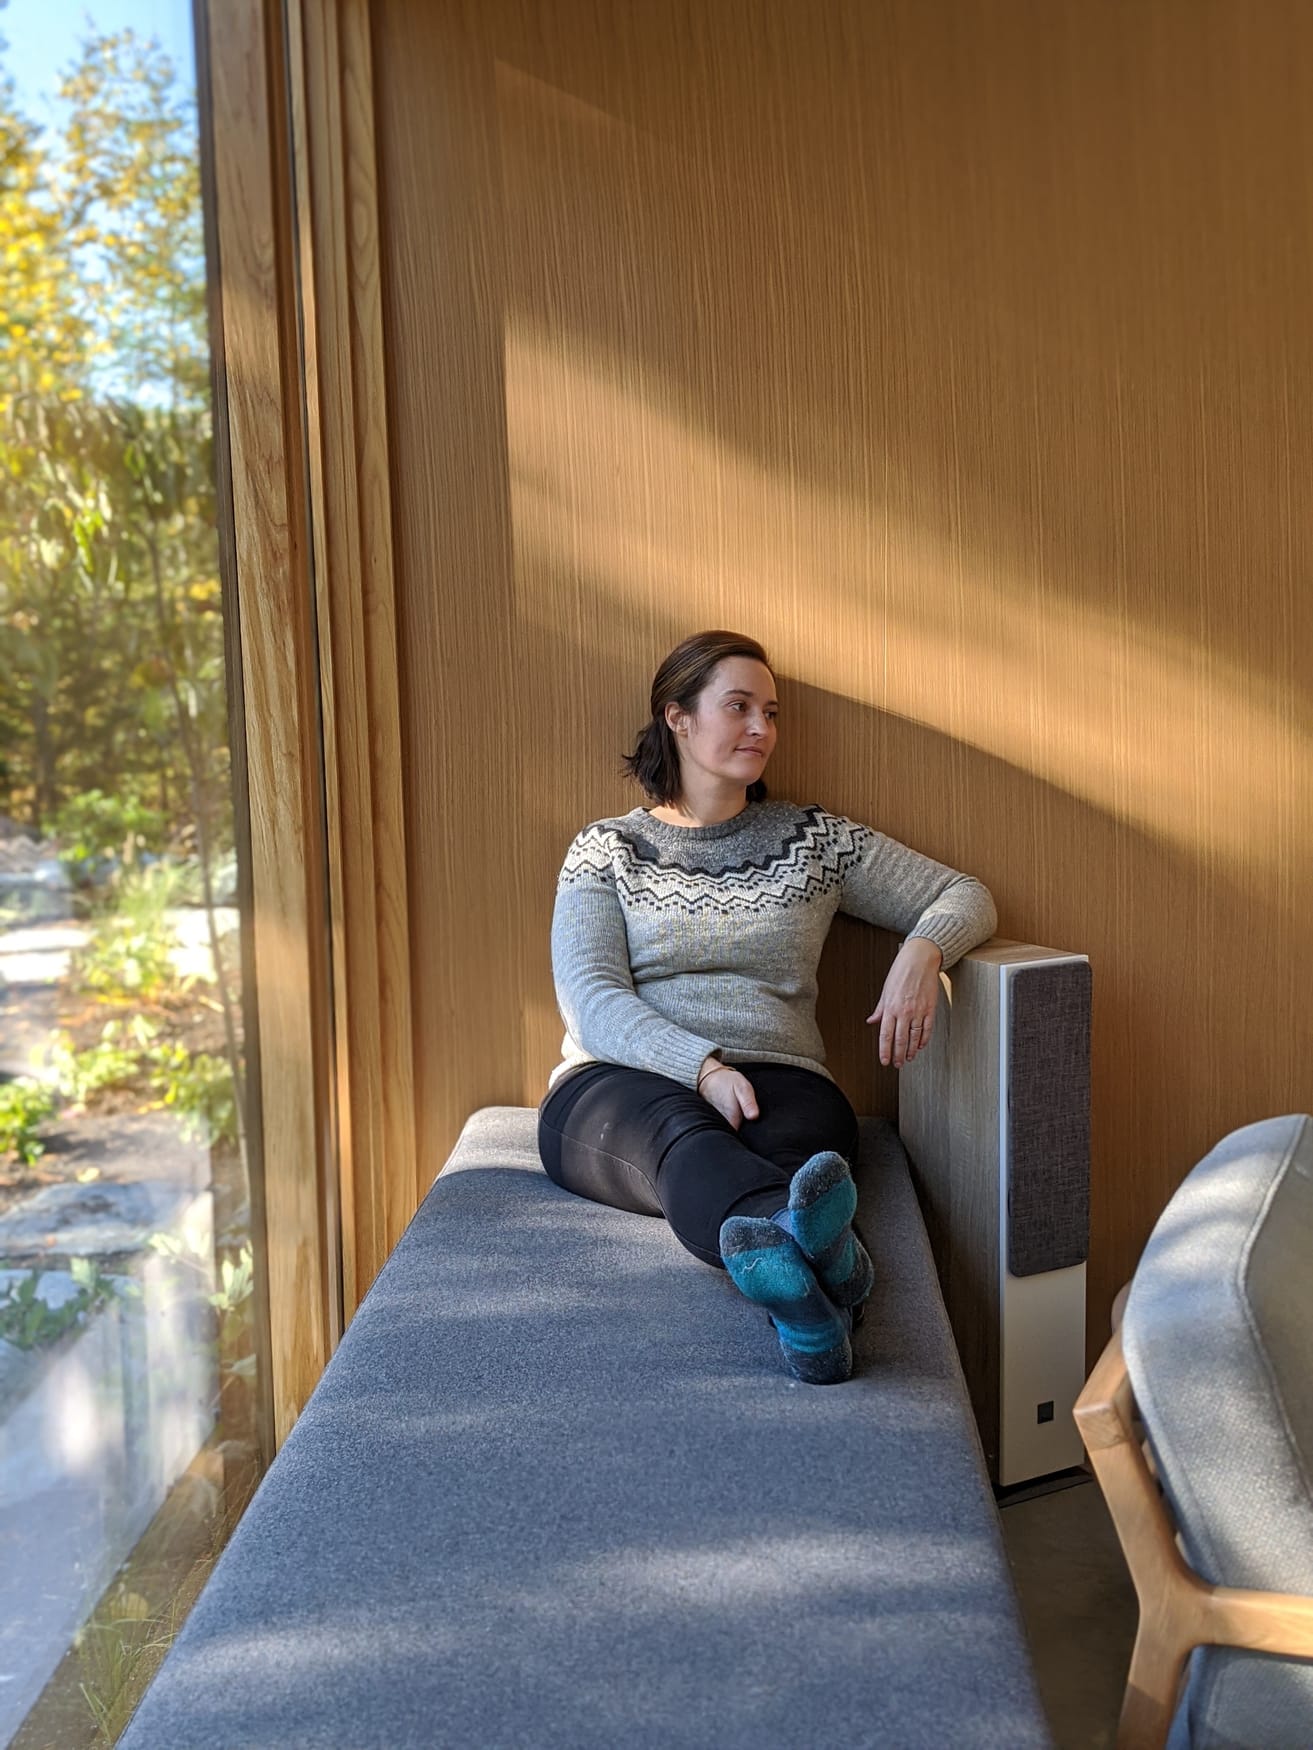
Looking back now with the house complete, we have learned a great deal. The process that we took to get here deepened our appreciation and personal investment in this place and this home.
So many of the simple pleasures we’ve imagined over the years and made decisions based around are now tangible. It feels miraculous to arrive after the drive up from the city, or wake up in the morning, or return from a walk, and find this place that we’ve inhabited in our minds and in our architect’s renderings and contractor’s blueprints – solid and real.
We are immensely lucky and feel so fortunate to get to spend the rest of our lives building memories in this place together. We are also very grateful to the incredible teams at Leckie Studio and Western Craft for helping us achieve something so special.


How many acres how much light
Tucked in the woods and out of sight
Talk to the neighbours and tip my cap
On a little road barely on the map
Old dirt road
Knee deep snow
Watching the fire as we grow
Old
Feist, Mushaboom
This post has been republished on the Huckberry Journal.